
ASSEMBLY
-
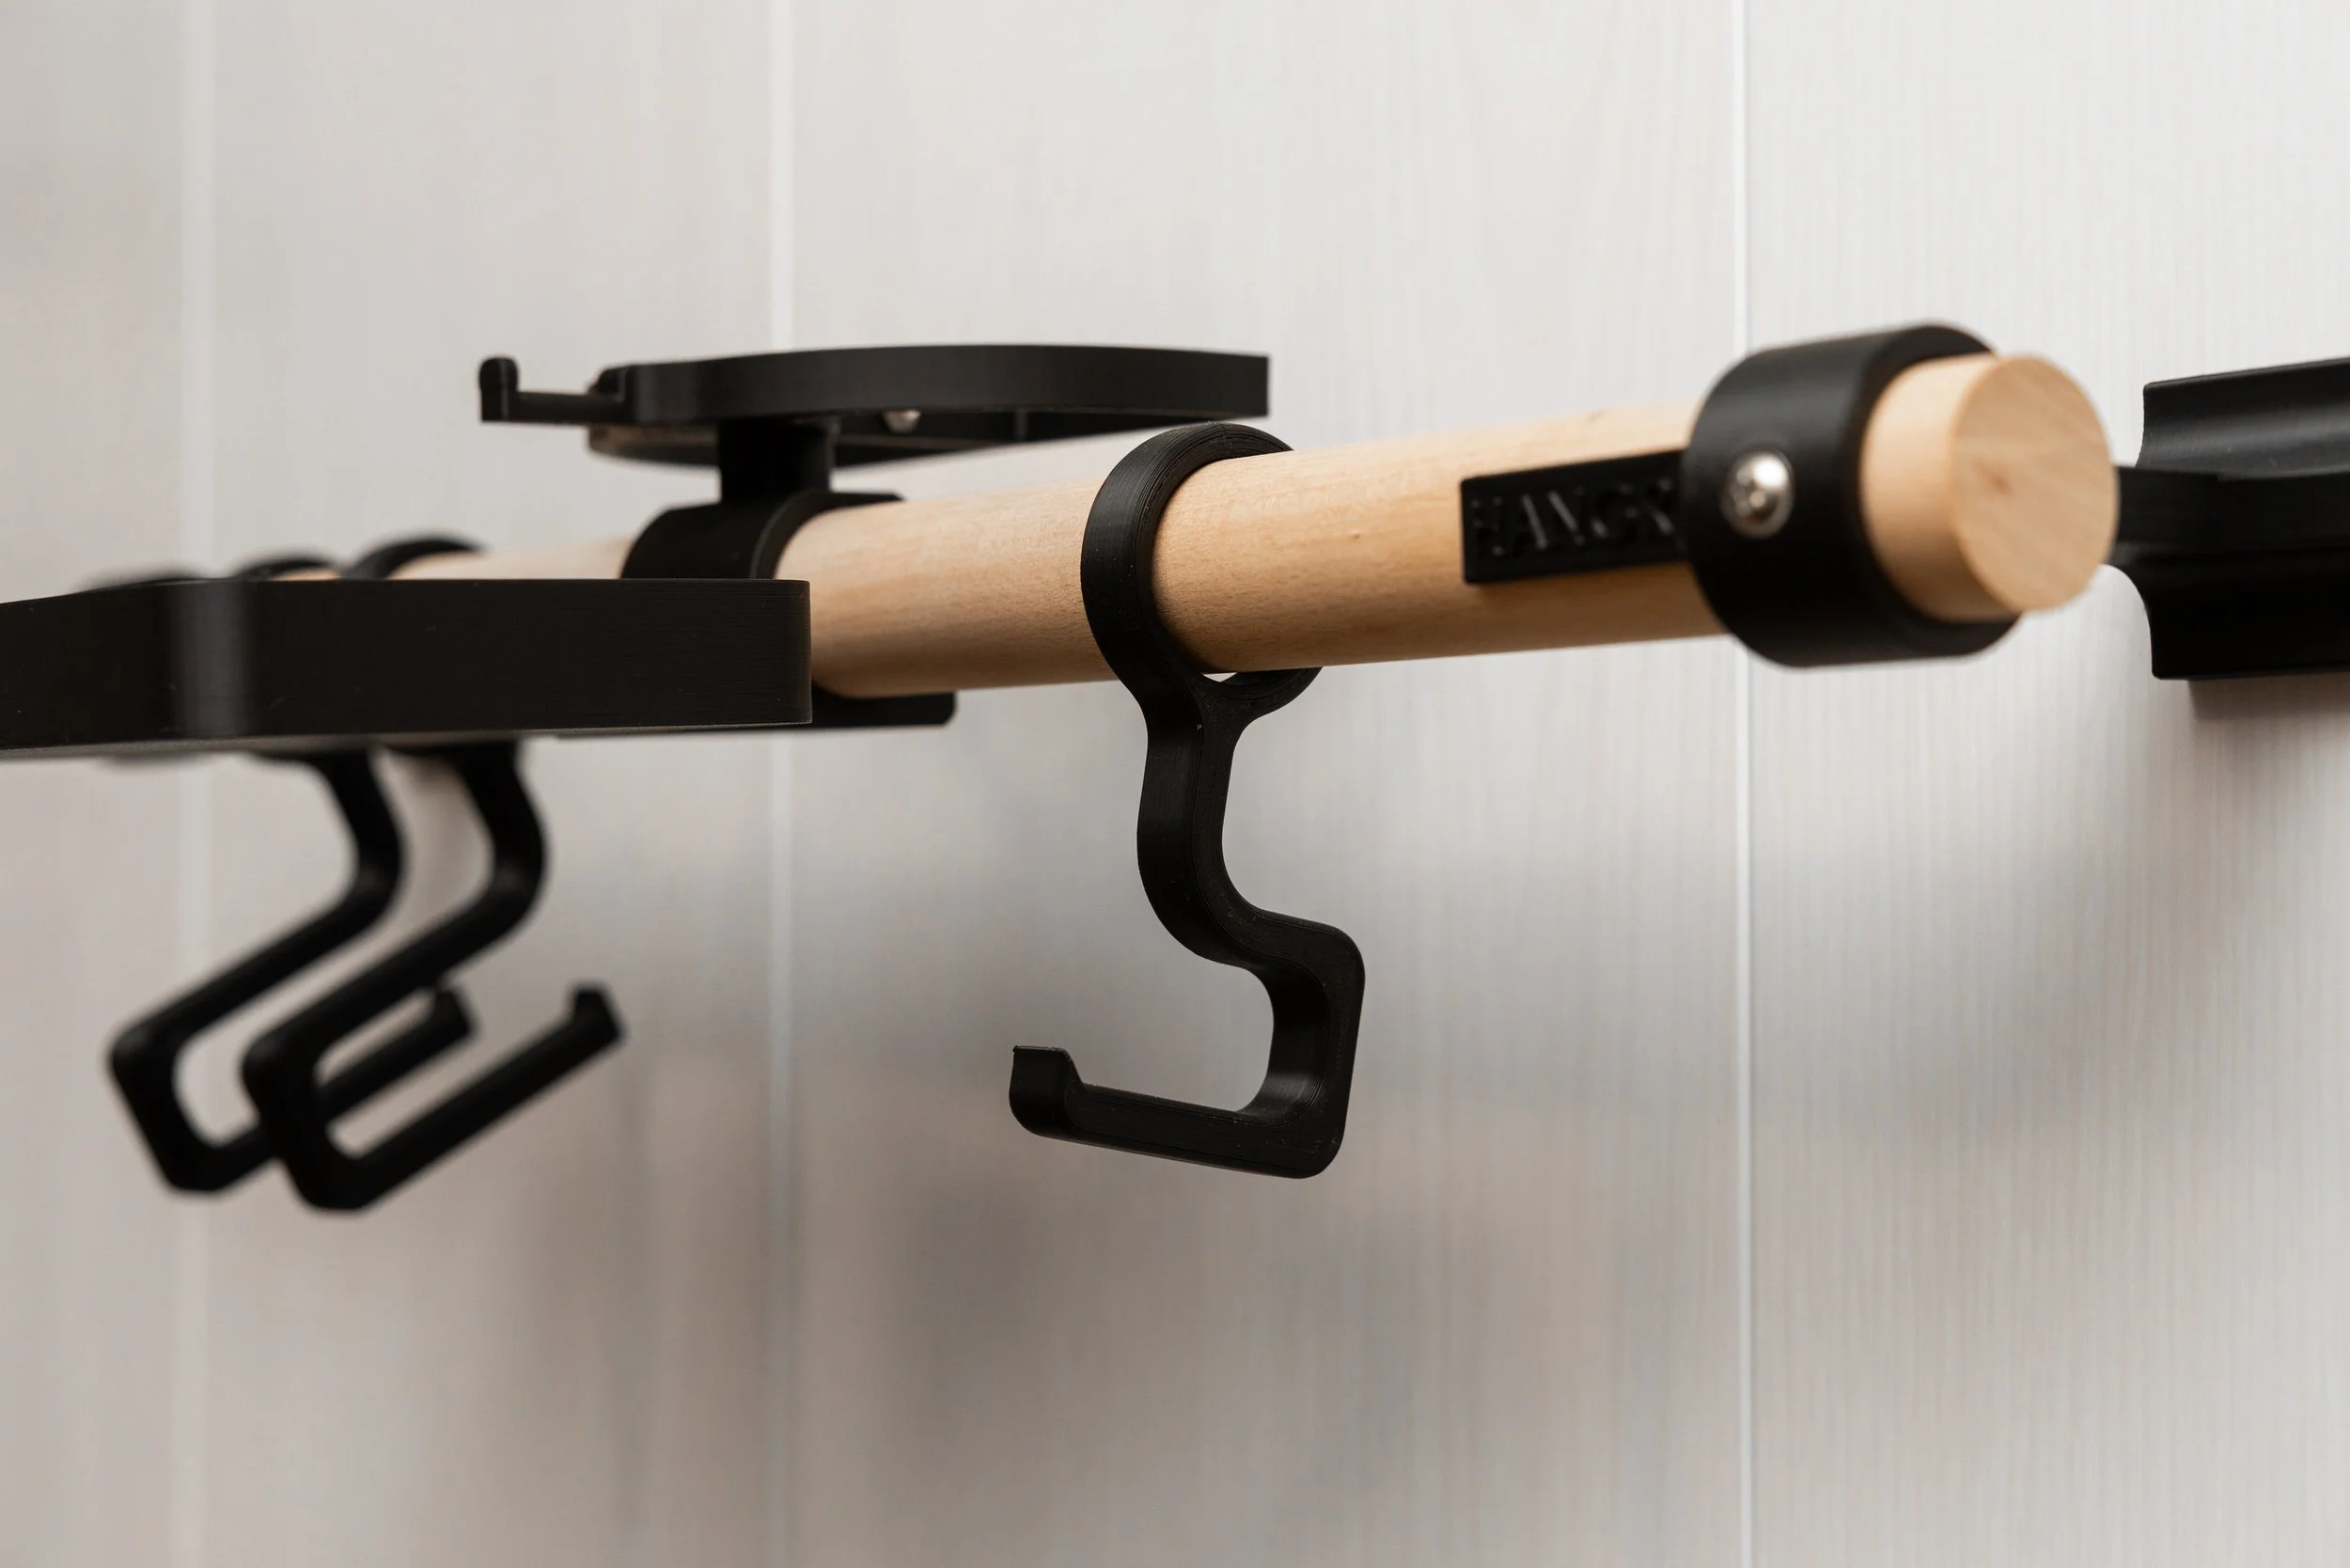
Included: HANGR:VERT unit, 2 end caps, 2 shoe hooks, 1 Garmin plate
Not included: Screws & wall plugs (choose for your wall type)Tools: Drill, screwdriver, spirit level, pencil, tape measure
1. Assemble
Remove end caps (unscrew).
Slide shoe hooks onto rail.
Refit end caps & tighten screws.
Slide Garmin plate into groove until it clicks.
2. Install
Hold unit to wall, level, mark holes.
Drill & insert suitable wall plugs.
Screw unit firmly to wall.
⚠️ Use correct fixings for your wall type.
⚠️ Do not mount to plasterboard without heavy-duty anchors. -
Included: HANGR:HORIZON unit, glasses mount, Garmin tray
Not included: Screws & wall plugs (choose for your wall type)Tools: Drill, screwdriver, spirit level, pencil, tape measure
1. Assemble
Clip glasses mount over 3D-printed triangle.
Tighten screw to secure mount.
Slide Garmin tray into groove until it clicks.
2. Install
Hold unit to wall, level, mark holes.
Drill & insert suitable wall plugs.
Screw unit firmly to wall.
⚠️ Use correct fixings for your wall type.
⚠️ Do not mount to plasterboard without heavy-duty anchors. -
Included: HANGR:VIZ unit, wall attachment
Not included: Screws & wall plugs (choose for your wall type)Tools: Drill, screwdriver, spirit level, pencil, tape measure
1. Install wall attachment
Hold attachment to wall, level, mark holes.
Drill & insert suitable wall plugs.
Screw attachment firmly to wall.
2. Fit HANGR:VIZ
Slide unit onto wall attachment.
Push until it clicks securely into place.
⚠️ Use correct fixings for your wall type.
⚠️ Do not mount to plasterboard without heavy-duty anchors. -
Included: HANGR:FRAME unit
Not included: Screws & wall plugs (choose for your wall type)Tools: Drill, screwdriver, spirit level, pencil, tape measure
Install
Measure frame width & mark fixing points.
Hold HANGR:FRAME to wall, level, and confirm spacing.
Drill & insert suitable wall plugs.
Screw unit firmly to wall.
Hang frame carefully onto mount.
⚠️ Use correct fixings for your wall type and frame weight.
⚠️ Do not mount to plasterboard without heavy-duty anchors. -
Included: HANGR:WHEEL unit
Not included: Screws & wall plugs (choose for your wall type)Tools: Drill, screwdriver, spirit level, pencil, tape measure
Install
Choose a solid wall with enough clearance for your wheel(s).
Hold HANGR:WHEEL in position and mark fixing points.
Drill & insert suitable wall plugs.
Screw unit firmly to wall.
Hang wheel(s) securely.
⚠️ Use correct fixings for your wall type.
⚠️ Do not mount to plasterboard without heavy-duty anchors. -
Included: HANGR:WHEEL AIR unit
Not included: Screws & ceiling fixings (choose for your ceiling type & load rating)Tools: Drill, screwdriver, spirit level, pencil, tape measure
Install
Choose a strong ceiling joist or solid ceiling structure.
Hold HANGR:WHEEL AIR in position and mark fixing points.
Drill & insert suitable ceiling fixings.
Screw unit securely to ceiling.
Hang wheel(s) carefully.
⚠️ Always fix into a solid ceiling joist or reinforced ceiling.
⚠️ Use heavy-duty fixings suitable for the load.
⚠️ Do not attach to plasterboard alone. -
Included: HANGR:VIZ STAND base, mount piece
Not included: Fixings (not required)Tools: None
Assemble
Align mount with base.
Slide into position.
Push down until it clicks securely in place.
⚠️ Place on a flat, stable surface.
-
Included: Base, bottom mount, middle sleeve, top wooden mount, helmet hook, glasses rack, bolts
Not included: Fixings (not required)Tools: Allen key / spanner (for bolts)
Assemble
Glasses rack
Slide glasses rack onto top wooden mount.
Tighten bolt to secure.
Bottom mount
Unscrew bolt on bottom of mount.
Insert mount into base.
Tighten bolt underneath to secure to base.
Top mount
Loosen bolts on middle sleeve.
Slide top wooden mount onto bottom mount.
Align straight.
Tighten bolts on sleeve to secure.
⚠️ Ensure all bolts are tightened before use.
⚠️ Place on a flat, stable surface.